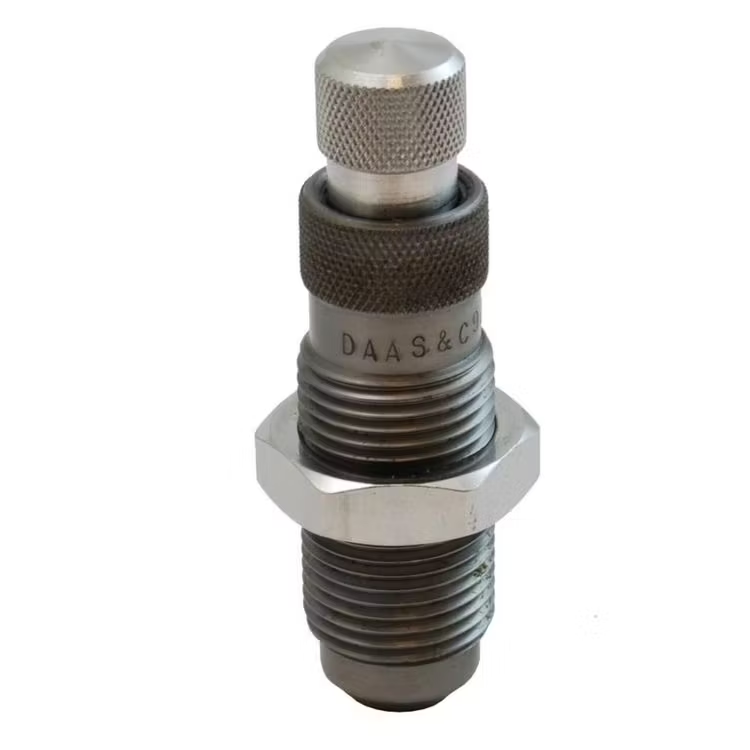
DAA - 2-in-1 Seating and crimping die
- 33,03 €
We sell a lot of Bullet Feeders. And the most common request we hear is “Can I used the Bullet Feeder on my 550?” Or “can I use the Bullet Feeder and still

Betala som du vill


Nets - Svea - Faktura, Delbetalning, Kort, Konto, Bank
Swish - till 123 650 9111 (Skanna QR kod)
Offert
Leverans
DHL - Fri frakt från 1000kr (annars 99kr)
DHL Paket (för företag) - 190kr
Självhämtning Helsingborg - 0kr
We sell a lot of Bullet Feeders. And the most common request we hear is “Can I used the Bullet Feeder on my 550?” Or “can I use the Bullet Feeder and still continue to use my powder check on my 650?”.
The answer to both questions is, YES, provided you combine your Seating and Crimping operations into one station, to free up the station your Bullet Feeder will need.
Such Seating and Crimping dies are available, and so we decided it was timer we made them directly available to our customers as well. We teamed up with one of the best Die manufacturers, LEE Precision, and are now pleased to offer you our DAA 2-in-1 Seating and crimping dies.
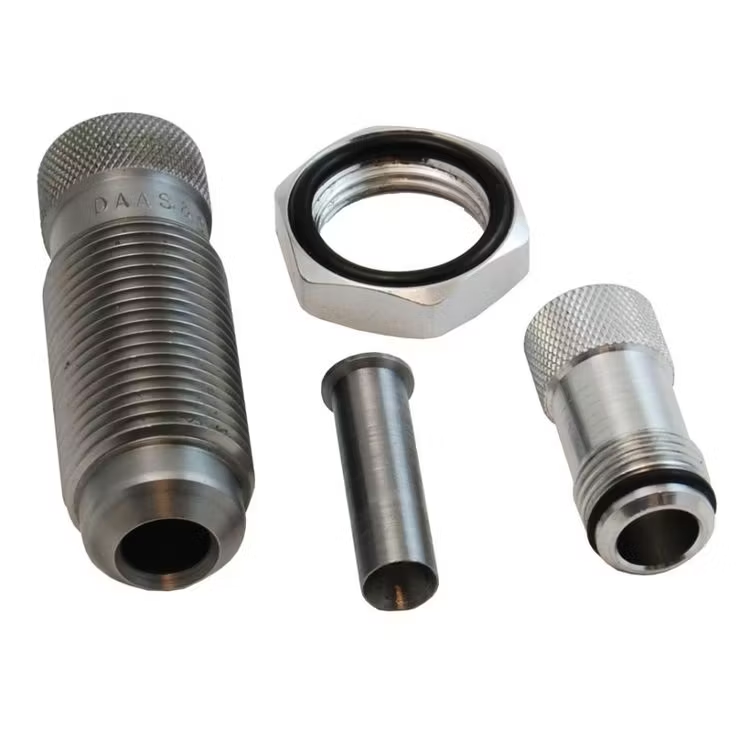
These quality stainless steel dies, enable you to Seat and Crimp in one station, without compromising the quality of your ammo. It may take a little longer to get the adjustments just right, but once calibrated correctly, this die will produce consistent and precise quality ammunition.
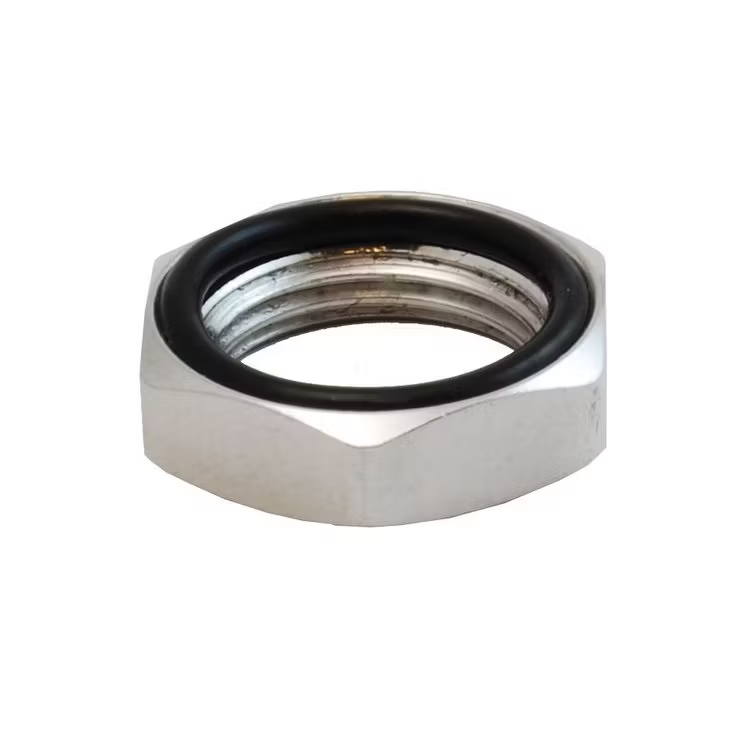
These dies include an O-ring lock machined into the nut, which allows you to hand tighten only – and the die stays put! They include a finger adjustable floating bullet Seater, are heat treated to ideal hardness and polished to the smoothest finish.
DAA 2-in-1 Seating & Crimping die – Set up Instructions
Thank you for choosing this DAA 2-in-1 Seating & Crimping die. This die frees up a station in your progressive-press tool head, making space for a bullet dropper die on your 550, or, allows you to use a bullet dropper along side a powder-check on your 650 or 1050.
Follow these steps to adjust the Die:
- Position a well-sized and belled case in the appropriate station and run the tool head all the way down (or shell plate all the way up)
- With the adjustment knob and lock ring on the die adjusted as high as they will go turn the die into the tool head until it stops, when the top of the case makes contact with the crimp shoulder.
- Set the lock ring by turning it down until it locks against the top of the toolhead.
- Turn the adjustment knob 2 full turns down, then lower the shell plate and place a bullet onto the case.
- Keep turning the adjustment knob down, and test the length of the bullet until you get the overall length you are aiming for.
- Once the correct length is reached, lower the shell plate, and loosen the lock ring. Then, turn the die down another half turn to create an adequate crimp, and retighten the lock ring. Then turn the adjustment knob about 2 turns out.
- Raise the shell plate again and bring the bullet back into the die, then turn the adjustment knob down until it makes contact with the top of the bullet.
Now the die is properly set for both depth and crimp, which occur at the same time at the top of the stroke.

 English


